It may seem daunting at first to try and make your own chocolate. Hopefully this 101 level course gets you well on your way in just five steps. This is the exact set of steps we went through to make our own 1st bar.
Step Zero - Beans
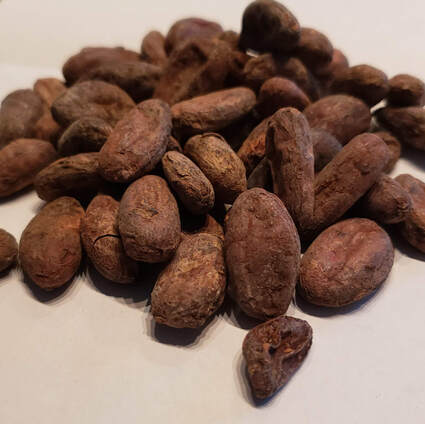
Where does the chocolate come from ? From cacao beans, so step 0 is to get some. There are a few places online to get a small amount, for this exercise at least 1 lb is recommended. When we buy our beans we look for singe source, organic and fair trade raw beans which helps farmers stay in business. Note that while these are called "raw" they are actually already fermented and dried.
Step One - Roasting
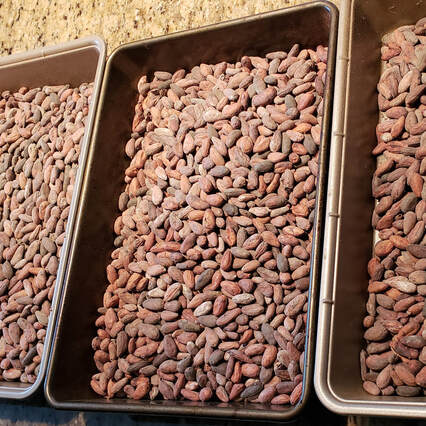
The world of cocoa bean is as diverse as grapes, depending on a region, farm, fermentation process, year, roasting temperature and length, refining process, etc. the end result will taste immensely different. How then you say, a "commercial" (lets call these the big guys) chocolate always tastes the same from store to store/year to year, the answer is in the roasting length and temperature. The big guys' chocolate makers roast the beans to such a high temperature that all of the tastes are blended into a monotone one, even mixing many bean origins together. Trust us, there is so much to real chocolate flavors that come out, from citrus, to earthy, from cheerios to nutty.. Roasting the beans is also called creating a roast profile (a bit more on this in 201)
For the 101 level, you will use your oven, set the temperature at 250 F, place your beans in a pan or on a baking sheet, set the timer to 20 min and commence the roasting.
You should start experiencing a strong smell of brownies some 15 min in, this is a sure sign that you are on the right path. If the brownies smell dissipated likely it was over roasted. Once the 20 minutes is up, take the beans out of the oven and let them cool down.
Step Two - Cracking
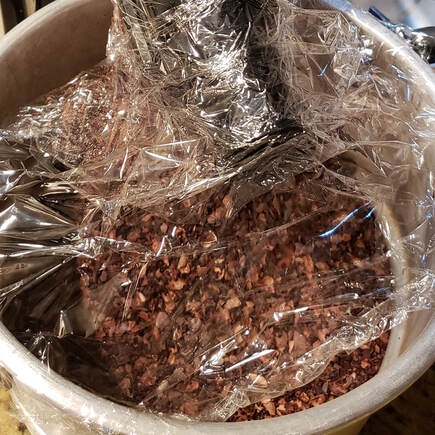
Now that your beans are roasted the next step is to crack them. This literally means to crack them, the goal is to goal is to break them down into smaller pieces (not pulverize). One way of doing this to put them into bag (large Ziploc bags work) to contain the debris, then take a heavy roller pin and go at it, other tools in the house that can help: tenderizer, hammer,cast iron skillet, mason jar, etc..
Once you are done, you should have a mixture of nibs (did we say that is where our Nibbys name comes from) and husks.
Once you are done, you should have a mixture of nibs (did we say that is where our Nibbys name comes from) and husks.
Step Three -Winnowing
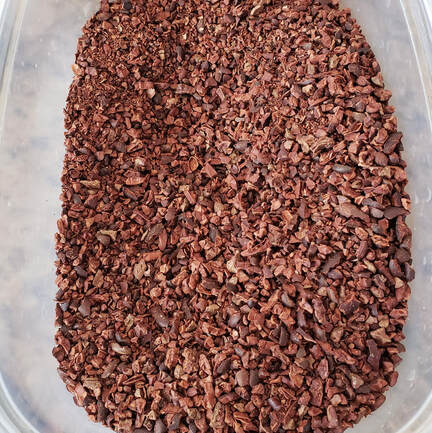
In this step you need to separate out the nibs from the husks. Typically around 1/5th of the bean is the husk weight wise but volume wise would be more than 1/2.
The proven method of doing this is a bowl and a hair dryer. You will need to go outside, and blow with the hairdryer into the bowl at the nibs and husks, the husks being the lighter ones will float away, leaving the heavier nibs behind. Few tips, prepare to have a large radius around you of husks, start at a greater distance with the hair dryer to prevent blowing away the nibs (ultimately you will lose some amount), and then get closer (but not too close).
The proven method of doing this is a bowl and a hair dryer. You will need to go outside, and blow with the hairdryer into the bowl at the nibs and husks, the husks being the lighter ones will float away, leaving the heavier nibs behind. Few tips, prepare to have a large radius around you of husks, start at a greater distance with the hair dryer to prevent blowing away the nibs (ultimately you will lose some amount), and then get closer (but not too close).
Step Four - Refining
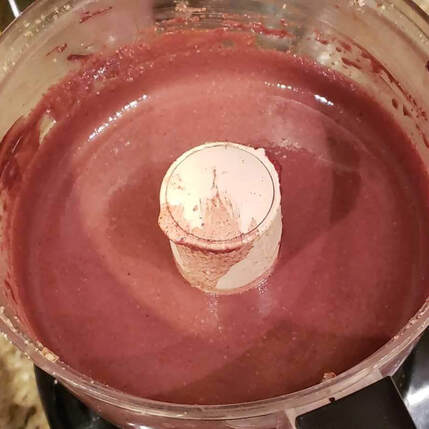
Now that you have just the nibs, it is time to refine them. For 101 level without specialized equipment (aka melanger in 201) you can use your food processor (not a blender like Vitamix), the chocolate will be come out a bit gritty but still quite good.
At this point you have a choice of how dark/sweet you would like the chocolate to be. It helps to have a kitchen scale. For example most of the chocolate we made was 70% dark, this means that in a 100 gm bar, 70 gm was the cocoa bean (nibs) and 30 gm was sugar (we use organic cane sugar). You can try other sweeteners, typically they need to be dry (for example not honey, explained in 201), monk fruit extract (1:1 replacement for sugar) is one example.
To take the guesswork out of this we created a calculator.
Now that we have our nibs and sweetener ratio all figured out, combine the two and place into a food processor. The longer you run the processor the finer the chocolate will become, but you will not get a creamy consistency. Typically around 20 minutes should be enough (similar to almond or peanut butter).
Step Five - Making A Bar
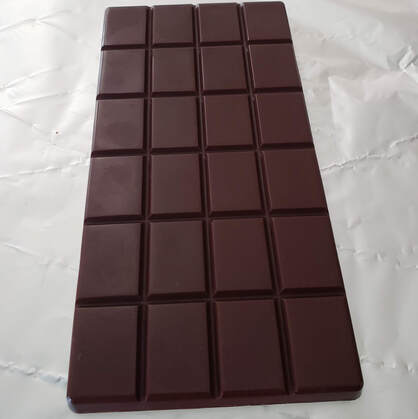
At this point you have liquid chocolate, the friction of the food processor blade broke down the nibs and the generated heat released the cocoa butter. All that is left to do is to cool it down, you can simply pour it onto a plate and either leave at room temperature or in the fridge for a few minutes. If you have a mold available you would pour it, and wait for a bit. We had some silicone ice cube molds and used those and also some chocolate bar silicone molds. The picture is the very first bar we ever made.
Eat It !
Congratulations ! You graduated from chocolate making 101, and successfully made bean to bar chocolate. If you see some whitening on the surface after a while do not panic, it is because we did not temper it (more on that in 201), due to cocoa butter separating, so it is best to eat it the same day. Go ahead, post pictures, share with your friends and neighbors or keep it all for yourself.
